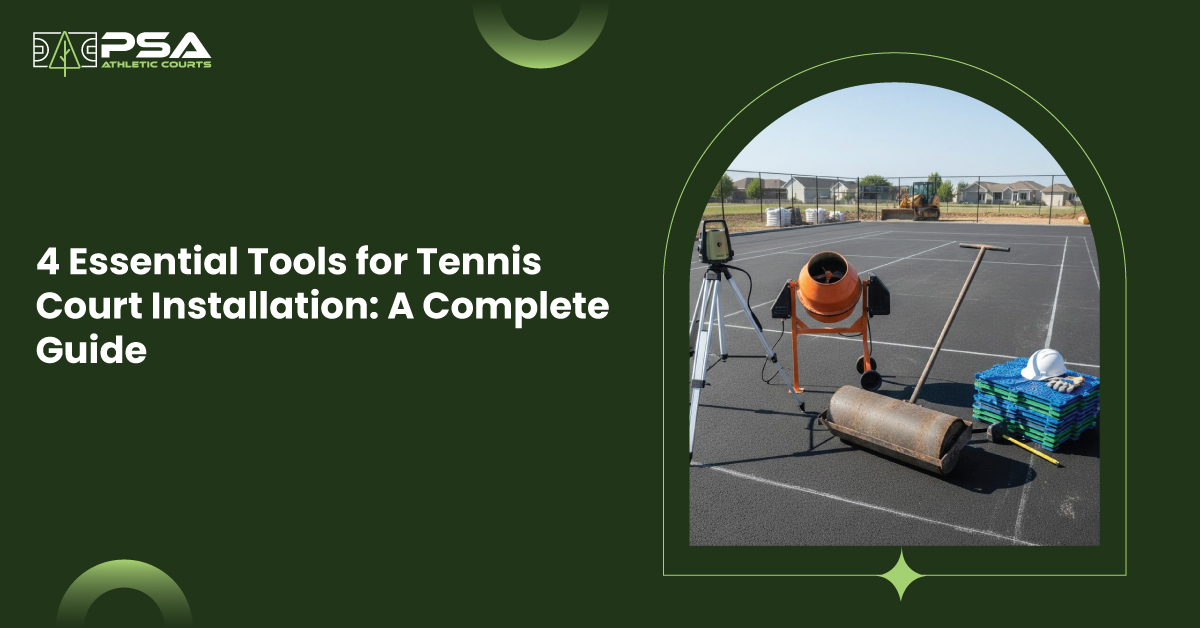
When you think of a tennis court that performs extremely well, what comes to your mind? For most of us, it is the image of a perfectly aligned tennis court with crisp white lines and a smooth surface. Behind this court is a team of tennis court builders who design and construct the court with the right tools and ensure it needs minimal tennis court repairs.
If you are planning on building such high-quality tennis courts for your sports facility or thinking of adding one to your home, then this guide by Pine State Courts is a must read. In this blog, we will discuss why the right tools matter and what the four essential tools for an expert tennis court installation are.
Why the Right Tools Matter
When it comes to building a tennis court that performs at par with professional courts, it isn’t just the right tennis court builders that matter but what tools they use matters too. And if you are thinking of installing a tennis court yourself then this guide by Pine State Courts becomes a lot more important.
From laying the court flat with just the right amount of slope for drainage, compacting it for durability, and getting the court measurements right, each tennis court installation tool has its own role to play.
And any tennis court designer/ builder worth his salt understands the importance of using industry-grade tools to deliver accuracy, consistency, and long-term performance of the court.
What are the 4 Essential Tools for Tennis Court Installation?
There are plenty of tools that are used in constructing a tennis court but we have compiled a list of the four most essential ones for an expert tennis court installation.
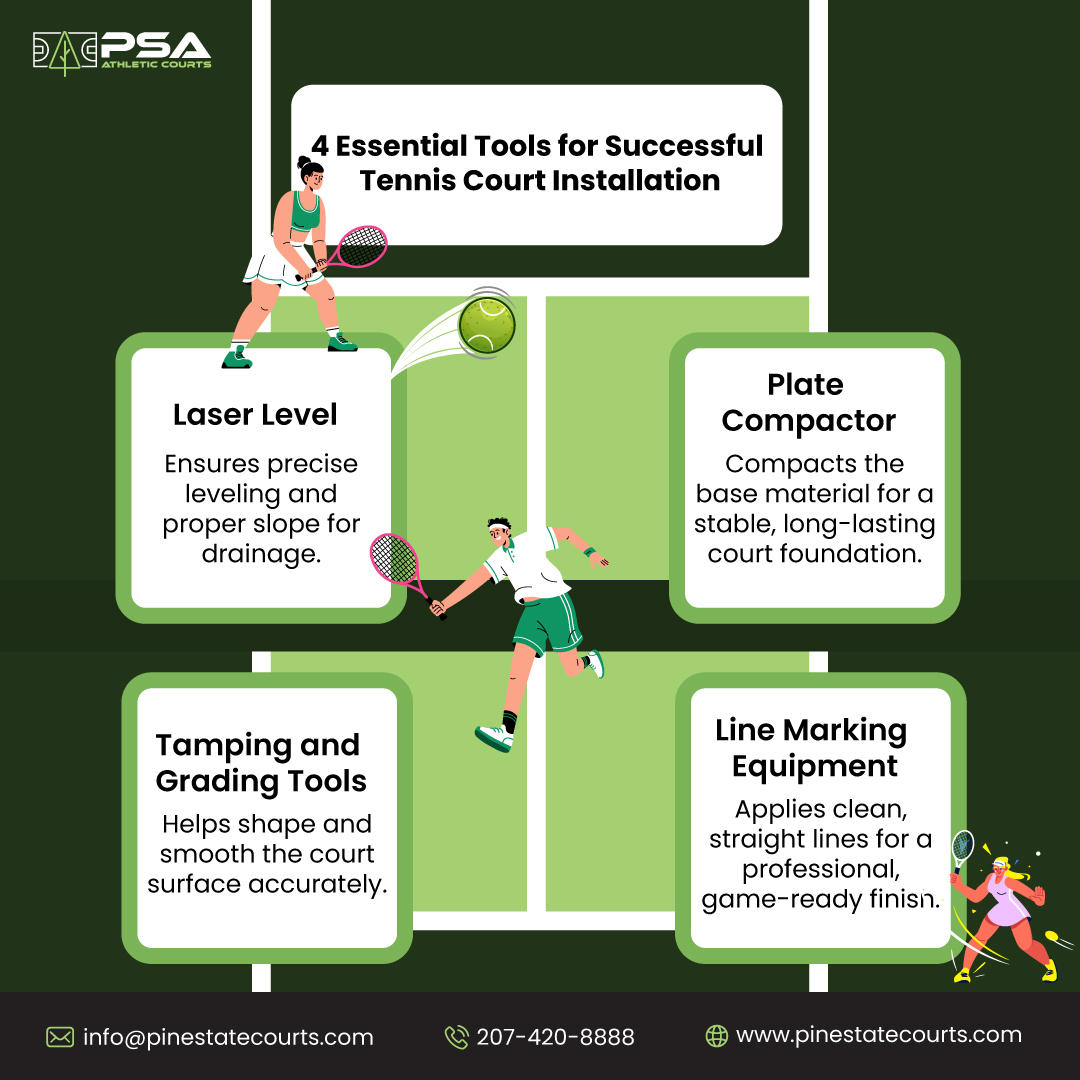
From precise leveling to spot-on line markings, each tool listed here has a major role in creating a court that’s built to last and play exceptionally well. Here’s what the four essential tools for installing a tennis court include:
1. Asphalt Paver or Concrete Forming System – Creates a Strong Base
Every great tennis court installation starts with a solid foundation. Most hard courts are built on either asphalt or concrete, and while both require precise groundwork, they are installed using very different equipment and processes.
- Asphalt courts are installed using an asphalt paver to place material evenly at the correct thickness, followed by rolling and compaction to achieve a smooth, uniform surface.
- Concrete courts are constructed using concrete forms, vapor barriers, reinforcement or post-tension systems, and controlled curing to create a stable slab that supports the surface layers above.
While site preparation and base work are similar, the installation process from that point forward is entirely different depending on the surface type.
Here’s why creating a strong base matters so much:
- Ensures a uniform playing surface
- Reduces future maintenance issues
- Extends the lifespan of the tennis court
2. Roller Compactor & Concrete Finishing Tools – Base Strength and Surface Performance
Once the base materials are installed, they must be properly compacted or finished depending on the court surface type.
- For asphalt tennis courts, a roller compactor is used during installation to compress the asphalt and underlying stone base, allowing the materials to lock together and form a stable, durable foundation.
- For concrete tennis courts, finishing tools are used after placement to achieve proper surface texture. A medium broom finish is commonly applied to provide consistent traction, control surface smoothness, and prepare the slab for acrylic or cushioned court coatings.
Without proper compaction or finishing, courts may settle unevenly, develop premature cracking, or experience drainage and performance issues. These steps are critical to long-term durability and minimizing future tennis court repairs.
To sum it up, proper compaction and finishing help:
- Strengthen the court’s structural foundation
- Improve resistance to cracking and surface wear
- Ensure consistent play characteristics
- Support long-term performance in all weather conditions
3. Laser Level - Ensures a Perfect Court Alignment
After the court surface has been laid and allowed to cure, it is now the time to draw accurate line markings. And as it is quite difficult to draw out a straight line on a slope using only a tape measure and your eye, using a laser level is essential to remove the guesswork.
The laser level projects a levelled reference line across the installation area to help tennis court installers create a flat and consistent playing field. This precision is especially critical when you are preparing the base and confirming that the slopes for water runoff are correct. This ensures the court doesn't require resurfacing too often.
To sum it up, tennis court professionals rely on the laser level, because:
- It provides accurate alignment across the entire tennis court.
- It speeds up the layout and grading work.
- It helps prevent any costly corrections post-installation.
- It prevents drainage problems caused by inaccurate sloping.
4. Line Marking Machine - Precision for Play
Now that you have set up the base for tennis court installation and laid out the reference lines, you need a line marking machine. It helps in consistent and efficient marking of the baselines, service boxes, and boundaries of a tennis court.
This adds to the player’s performance, resulting in a professional-looking court that’s accurately aligned and poses no confusions for players and referees. Many professional line marking machines also come with built-in lasers mounted on top for better visibility, straighter application, and enhanced accuracy.
Here’s why using a line marking machine matters:
- Creates sharp, long-lasting court lines.
- Maintains the regulation accuracy.
- Saves time as compared to doing it manually.
If you are noticing faded lines, pooling issues, and cracking too often even upon constant tennis court repairs then it may be time to resurface your tennis court. Not sure where to start? Here’s our expert guide on tennis court resurfacing solutions in Maine.
Smart Ways to Get the Most Out of Your Tennis Court Tools
Using professional tools is only a part of the tennis court installation process, getting the best results also means using them wisely and ensuring they don’t just last a single project.
If your tools aren’t used appropriately and are not well maintained then even the best equipment can deliver poor results, increase your maintenance costs, and shorten the lifespan of your tennis court.
Here’s how you can ensure you get the most out of your tennis court installation tools:
- Ensure that the tools you are using are of top-quality.
- Make sure your crew is properly trained for safe and accurate handling of the tools.
- Tools like laser levels should be calibrated regularly.
- Clean and maintain the equipment after every job.
- Follow the correct installation sequence for a smooth work experience.
These best practices for using and caring for the installation tools will help improve their efficiency, protect your investment, and ensure you get a consistent court quality throughout its life.
Conclusion
A high-performance tennis court is built with care, precision, and the right installation tools. From pavers that build a dependable base, compactors that add to the strength of your court, laser levels that align the court well, and line marking machines that deliver accuracy, each tennis court installation tool has an important role to play.
When these tools are used together by experienced tennis court builders, the result is a court that looks great, plays consistently, and requires minimal tennis court repairs. Whether you are building a tennis court for your school, club, community centre, or private property, Pine State Courts ensures each tennis court is built exactly to the official standards and lasts for years.
Frequently Asked Questions
1. Does a tennis court add value to a house?
Yes, a tennis court adds value to a house. By building a tennis court you can boost your property value and make it more appealing for buyers who love the sport, play it professionally, or have kids in their family.
2. How long does it take to install a tennis court?
The time required to install a tennis court can range anywhere from a few weeks to months. The exact time depends on the site prep. required, the court’s surface choice, the weather you are building the court in, and custom installations.
3. How thick should concrete be for a tennis court?
The minimum thickness for a tennis court is 4 inches while post-tensioned courts and those in extreme weather conditions require a thickness of 5 inches.
4. Can I install a tennis court without specialized tools?
Although it is not possible to install a quality tennis court that’s professional-grade without any specialized tools, you can build a DIY tennis court on an existing flat surface using modular tiles (for recreational play).
5. Do I need professional help to use these tools?
Yes, you do need professional help to use the tennis court installation tools for a full-scale installation of a high-performance court. You can however DIY the maintenance and build a recreational court using modular tiles on an existing court surface.
6. How do these tools affect the lifespan of a tennis court?
Using quality tools by an expert tennis court builder along with regular cleaning and maintenance of the court can maximize the lifespan of a tennis court.
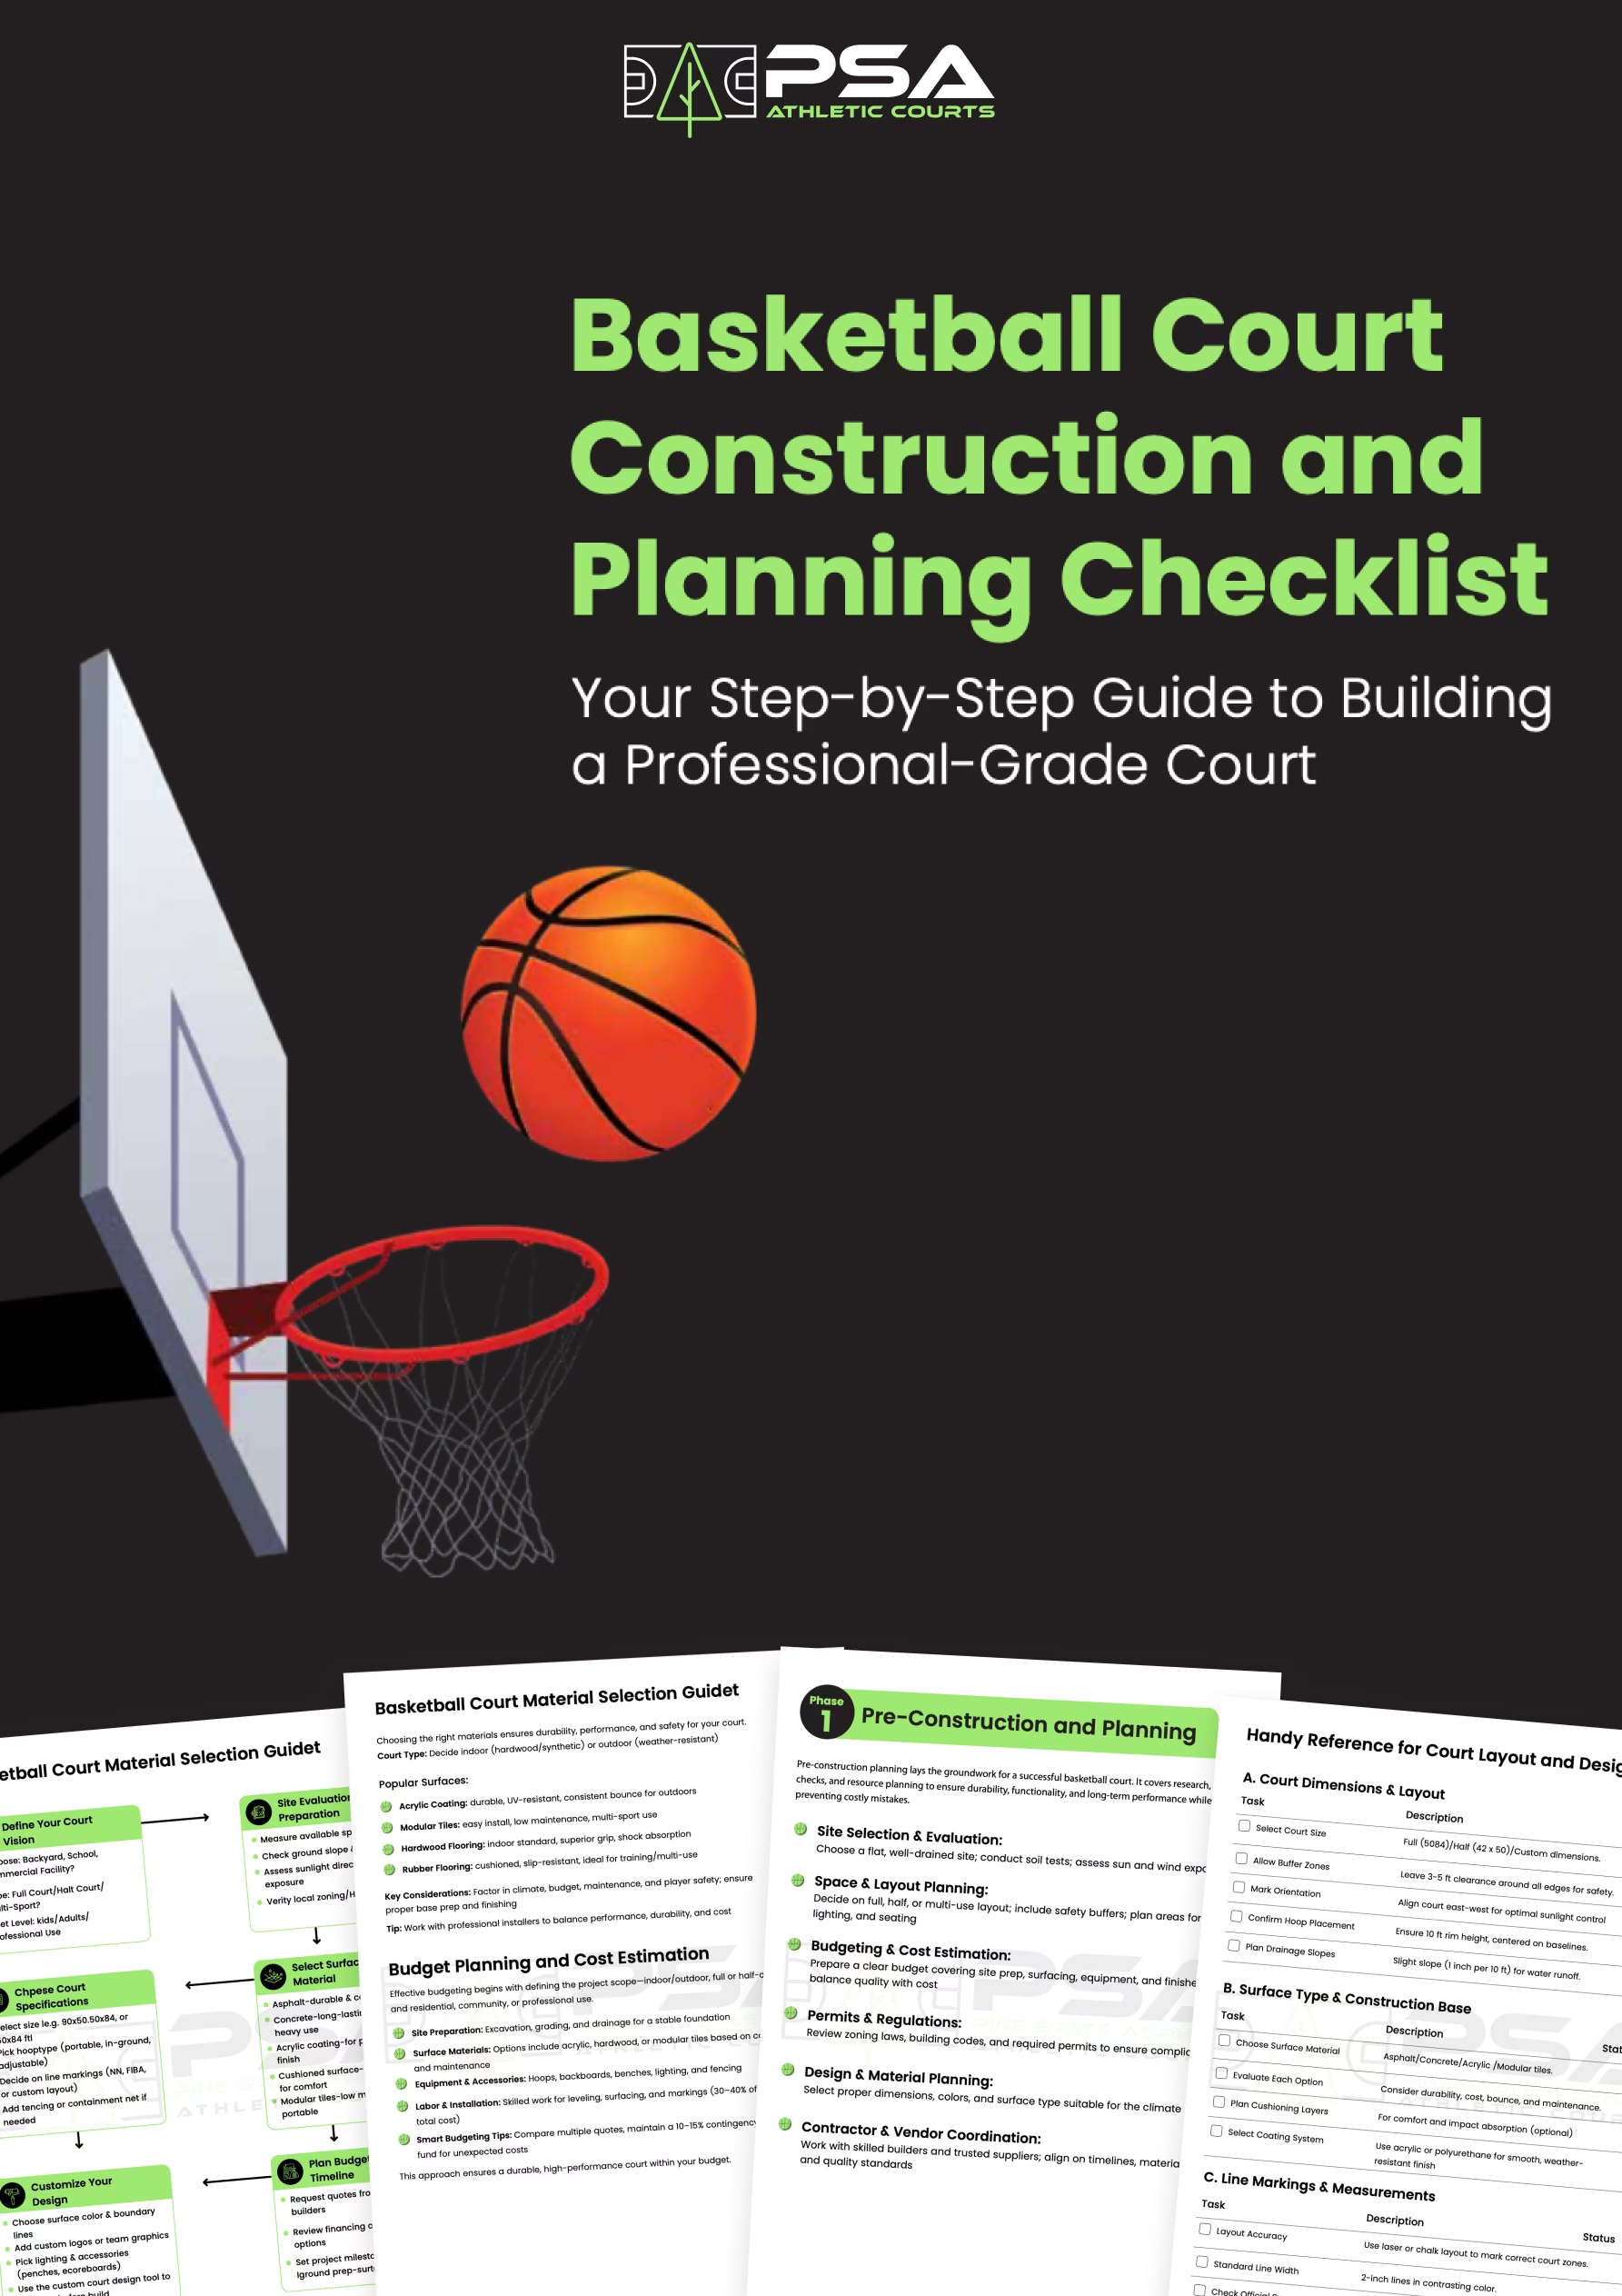
DOWNLOAD OUR FREE GUIDE
Ready to build your dream court?
Download our FREE Basketball Court Construction & Planning Checklist and get the step-by-step roadmap to building a professional-grade court—from budget planning to final touches.
No guesswork, just results.